03 B - Create Your Heroku Account

Harsha Murthy
Harsha Murthy
Last updated 
1. Go to Heroku's website. Click the "Sign up" button in the top left corner.
Sign up 835 KB View full-size Download


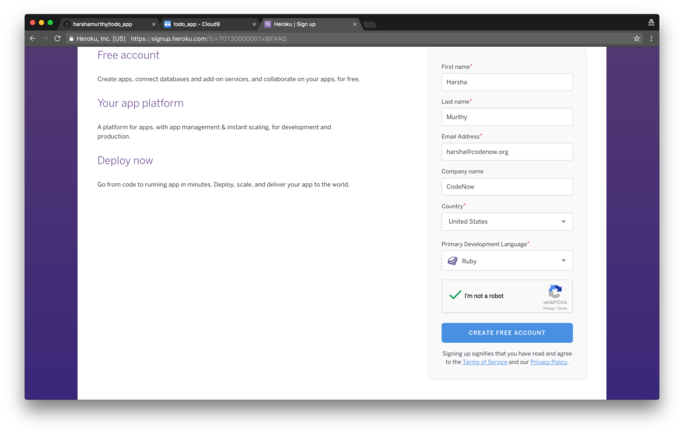
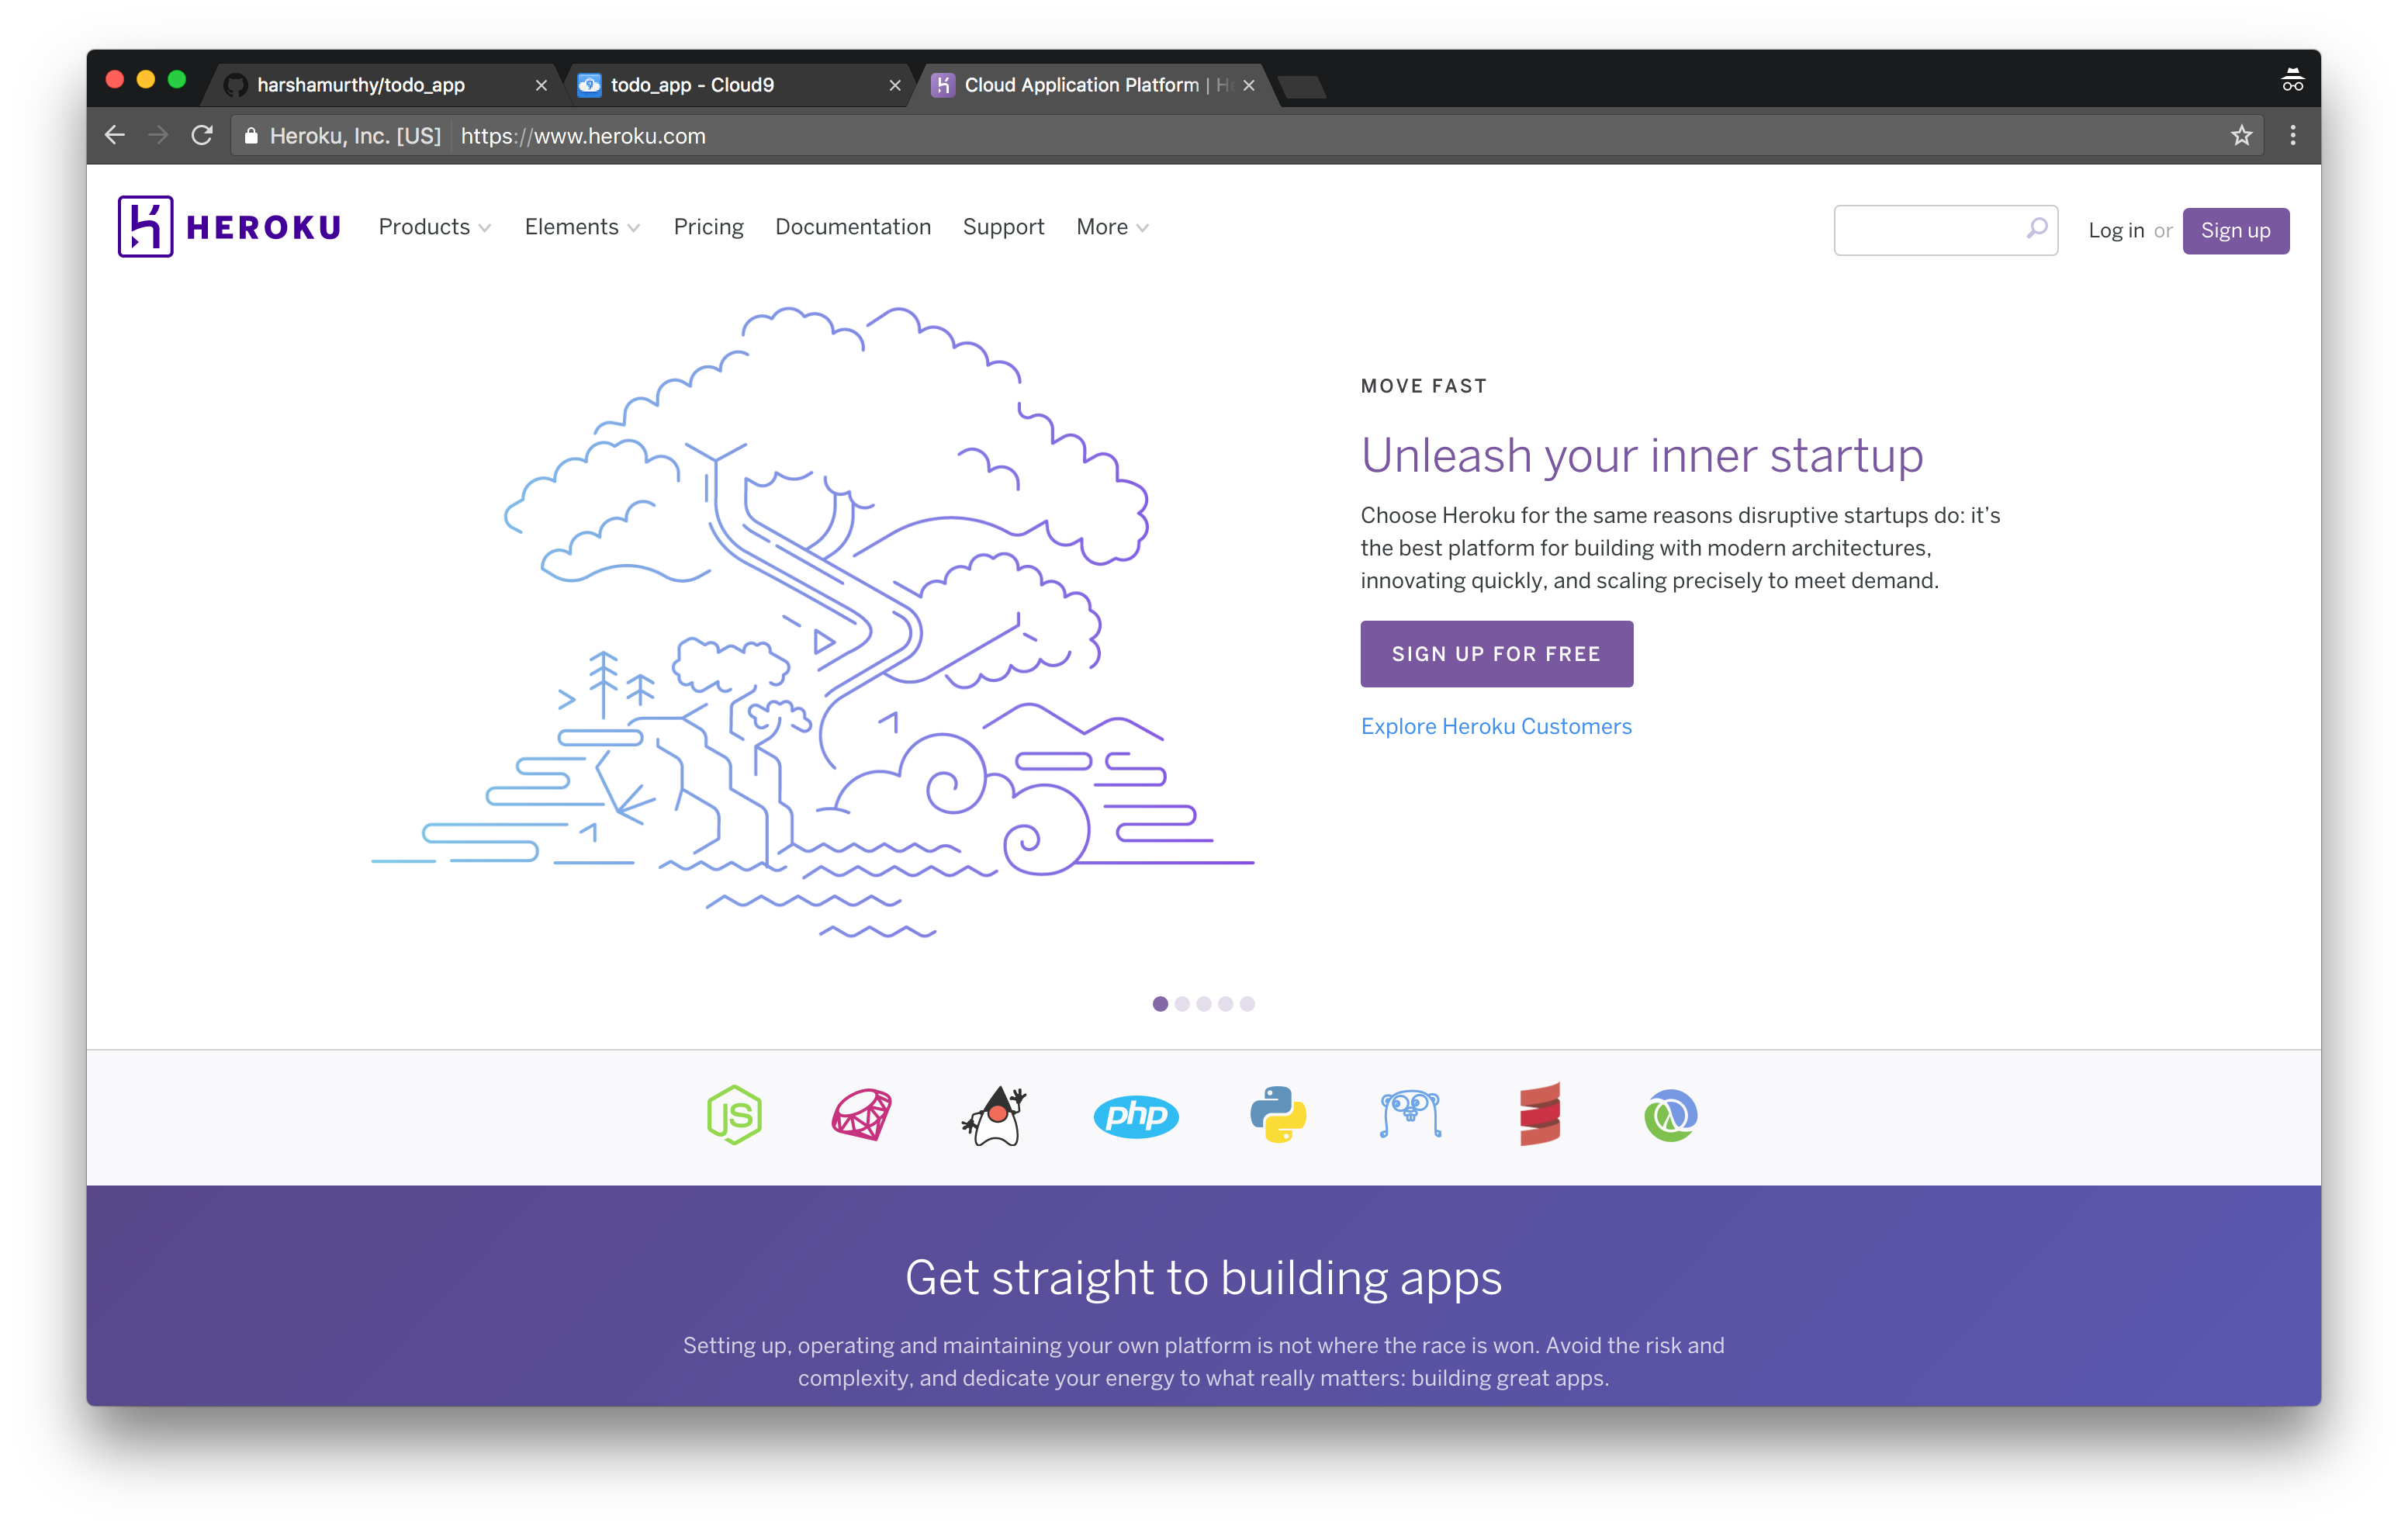
2. Fill out the sign-up form. Use the same email address as you used for Cloud9 and GitHub. You can leave the "Company" field blank. For the "Language" field, select "Ruby." Click "Create Free Account" when you are done.
Fill out the sign-up form 373 KB View full-size Download


3. You will be directed to a page requesting you to verify your email.
Verify your email to confirm your Heroku account 524 KB View full-size Download


4. Log in to your email, find the email from Heroku, and click the verification link.
Click the verification link in the email from Heroku 405 KB View full-size Download


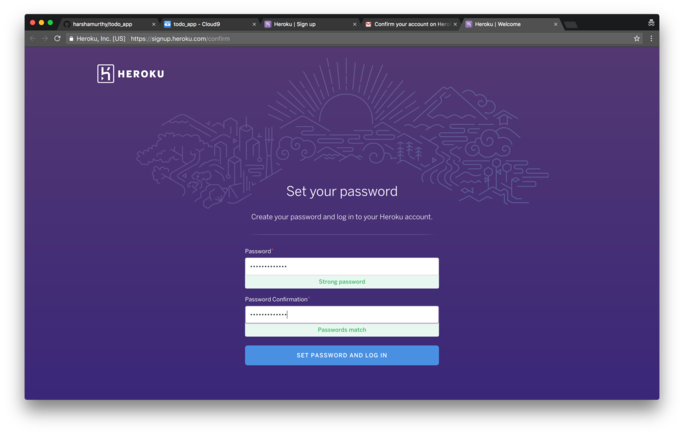
5. You will be directed to a page asking you to enter a password for your account. Choose a secure password that you will remember easily. After you are done, click the "Set Password And Log In" button.
Choose a password 523 KB View full-size Download


6. You will be directed to a page with a link to log in to your new Heroku account. Click the link.
Welcome to Heroku 483 KB View full-size Download


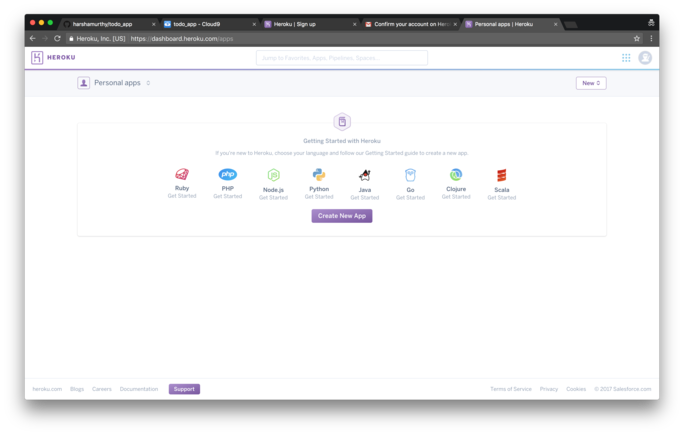
7. Finally, you will be directed to your Heroku dashboard. You do not need to do anything on your Dashboard. Once you reach this page, feel free to close all the windows related to Heroku.
Heroku dashboard 360 KB View full-size Download